


Help & Tutorials - Site Builder Topics
Answers to questions about our Site Builder
- Site Builder FAQ's
- Getting Started (Start here)
- Website Layout & Design
- Site Navigation & Pages
- Adding & Editing Content
- Website Add-ons & Widgets
- Domain Name and Emails
- Search Engine Optimization
- Blog (Create & Manage Blogs)
- Website Traffic & Site Statistics
- Publish your website
- Serving Ads on your Site
- Contact Support
Blog (Create & Manage Blogs)
What exactly is a blog?
A blog can be categorized as a type of website or part of a website containing a blog. Blogs are usually maintained by the site owner or an individual with regular entries of commentary, descriptions of events, or other material such as graphics or video. Entries are commonly displayed in reverse-chronological order.
Blogs can also have interactive features enabled, allowing visitors to leave comments. It is this interactivity that distinguishes a blog from other static websites.
Why should you consider using a blog?
At the basic level, a blog is just a quick and easy website page that can be conveniently updated with new content. Blogs are a great tool for communicating with other websites and creating networks of links to related authors.
Creating and maintaining a blog on your website is a great way to keep your customers and visitors informed of new events and happenings be it personal or business. You can easily integrate a blog on your website with the site builder. You start with a preset blog template and can then customize it to further fit your needs.
Creating a Blog
You can create a blog on your web site in a few simple steps and begin populating and managing your blog.
How to create a Blog page:
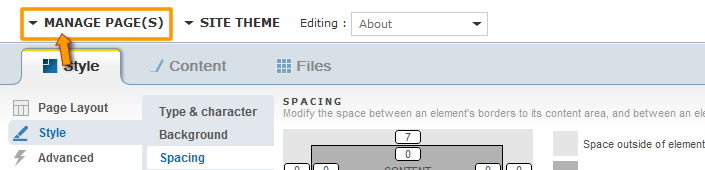
Step1: Manage Page
On the upper left hand corner, there is a button that is called “Manage Page(s)”. Click it
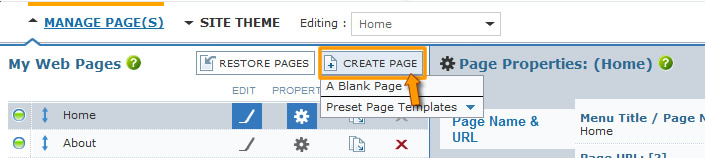
Step 2: Click “Create page”
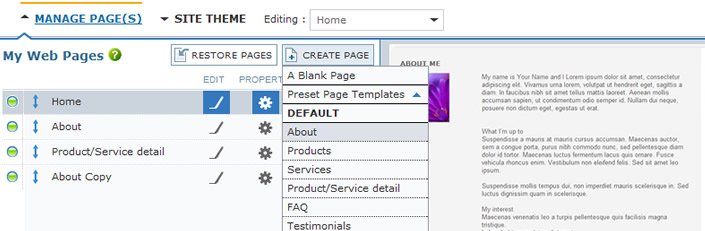
In the drop down menu, you will see a button that says “Create Page”. Click it and it will list the available page templates you can use. Click the one that says blog and it will automatically create a page that is in a blog format.
Under Preset Page Template select the "Blog" option. This will create and place a Blog page in your list of web pages.
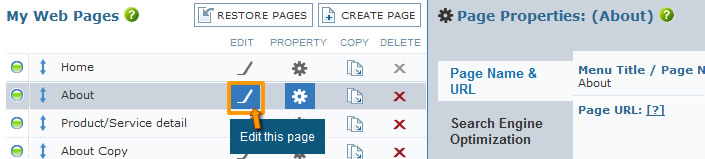
To access and edit your Blog page, click the edit icon next to the page.
Step 3: Create Content
By default the preset Blog will contain a couple of sample Blog posts. You can use this as a starting point to edit the preset posting blocks and create as many new postings as needed.
Clarification: Although you can also add a new blog by clicking and dragging the icon under Content → Goodies → Blog, you do not need to do this step; because in essence this will duplicate the blog post as each site contains one set of Blog at a time. You simply need to use the Blog post that already exists in your page to manage and edit existing and new postings.
Managing Your Blog
Many blogging software and applications have a separate administrator panel which can at times get confusing when managing posts. With the Easy WebContent system we have simplified the set of features so you manage core blog features under one control panel within the Site Builder interface the same way you would manage any other Add-on or Widget.
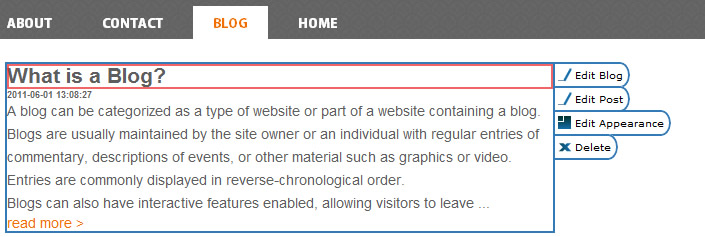
Below screen shot shows the user has select on a single blog post and is presented with all options to:
- Manage the Blog Core Features (Edit Blog)
- Edit Post (Edit the existing post selected)
- Edit Appearance (Modify the design/style of selected Blog post)
Blog Features
Core features of the blog are categorized into 4 sections. You can access this via the "Edit Blog" option when clicking on any blog post or blog container.
Note: If you click on entire Blog container the button may show as "Edit Widget". This will lead to the same feature.

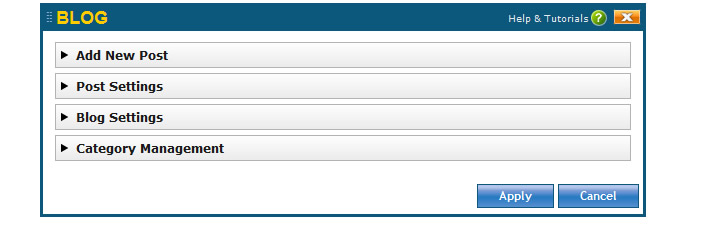
Add new post:
When you click this, the content editor will pop up. You can place the title, post content, and add it to a category from here. If this is your first blog post then it is likely you don’t have categories yet.
Post settings:
This drop down menu gives you options to insert some social networking buttons such as twitter and facebook.
Blog Settings:
Main settings for your blog page. You can control how many posts to show per page ( 0 to have them all show up on 1 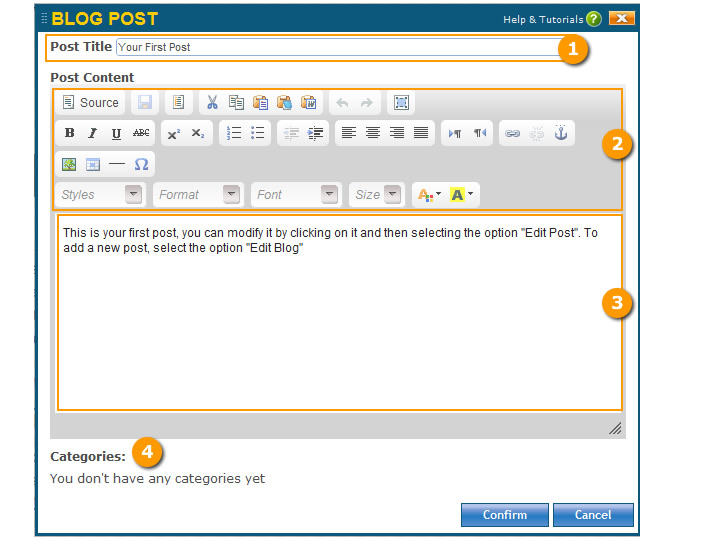 page) and how many characters to show per post on the page.
Category management:
Organize your blog posts through categories. Easily make new categories and manage them through this interface.
There are also icons for Last entries, categories, date, and search. These icons should be placed in the side bar to help the visitor navigate through your blog.
Edit an Existing Blog Post
To edit an existing blog post, click on the post you wish to edit and select "Edit Post" option. This will open the widget to manage the post.
1). Post Title
This servers as the title of your blog post. It should kept short and attract user attention towards the content of your post. By default the title will always be bold and larger than blog content.
2). Content Editor for Blog Content
The editor has similar editing engine as the Content Editor used on your web site pages. There are series of editing options for pasting content from external document/sources, styling your content as well as adding links, images and other assets within your post.
3). Post Content
Contains the body content of your post. You can insert as much content as needed to serve your blog post topic. The system will automatically create show beginning portion of your content (first 500 characters) and inserts a "read more" link which can lead to full post.

4). Categories
You can assign a blog post to category(s). This allows you to better organize your blog and also allows your users to more easily locate desired postings. Use of categories is optional but recommended when you create multiple blog posts.
To assign a category, you will need to first create category(s) within your Blog settings (Edit Blog) prior to assigning a category to a blog post.
Then select "Category Management" and create category.
(You can also edit existing category name by double clicking on desired category)
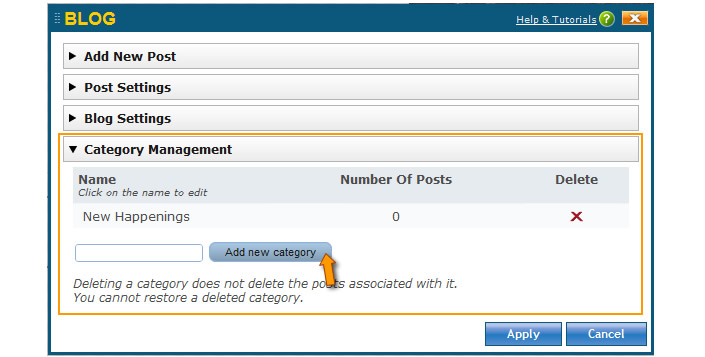
You can then assign your blog postings to desired category(s):