


Help & Tutorials - HTML Editor Topics
Answers to questions about our HTML Editor
- HTML Editor FAQ's
- Beginner's Guide (Start Here)
- Editing Your Web Pages
- Editing Other File Types
- Add-ons and Widgets
- File Management
- Search Engine Optimization
- Managing your Account
- Contact Support
Editing Your Web Pages
Inserting / Editing Images
Do you have some nice, quality content on your web pages but feel as though there is something missing? Most likely, you cannot help but want to fill your pages with images. Easy Web Content makes adding pictures to your pages extremely easy. However, before you start inserting images into your web pages here are some quick tips:
- Don't overdo the use of images; use images to support your content rather than let graphics take over your pages.
- When it comes to web pages, the format of images is very important; this includes image size and image type. (Refer to the "Images for Web Pages Overview" section below for tips.)
Please Note: Just as textual content on the Internet can be copyrighted or protected, so can images. Copying images from other web pages may be prohibited. Therefore, it is recommended that you avoid copying images from other sites unless you have permission to do so. (It is your full responsibility to avoid copying images from copyrighted sources).
Images for Web Page Use
When it comes to using images on a web page, you must pay special attention to the size and format of the file.
Acceptable Image formats:
The following image formats are recommended for use on a web page: .JPG / .JPEG, .GIF and sometimes .PNG
Although they are commonly used in print and other media, .BMP, .TIFF and .PSD image formats are not meant to be used on web pages. The primary reason for this is that some web browsers will fail to properly display images with these extensions. Furthermore, for example, the size of an image in the .TIF/.TIFF format could be up to 10 times as big as the same image in .JPG format.
Acceptable Image Sizes:
Another important consideration when using images on web pages is the size of the image (Dimensions: Width X Height).
When it comes to inserting an image on your web page, you must consider that the image must not exceed the width of the area it is being inserted to. (For example, if you are inserting an image of 500 pixels in width inside a 400 pixel wide content area, the image may entirely disrupt the format of your web page's layout.
A simple tip is to limit the width and height of your images to no more than 500-600 pixels wide on most of your web pages.
If you have a larger image, you can take advantage of the EZ Image Editor Add-on to resize your image before adding it to your web page content
Please Note: There is a limit of how big an image you can size down; Make sure your images are never larger than 1500X1500 pixels for use in My Image Editor)
Wondering how many pixels in an inch?
Answer: 72 Pixels = ~ 1 inch on your Monitor.
How do I insert an image to my web page?
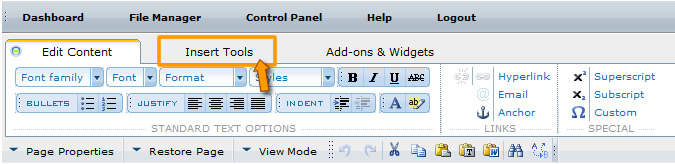
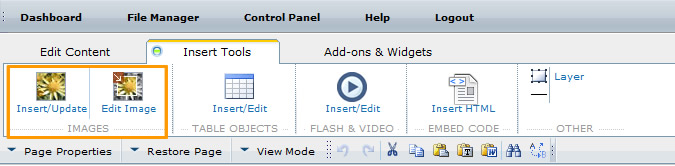
The image options can be found under the "Insert Tools" of the editing panel as shown below:
Inserting an image to your page content area is simple:
1). First, place your cursor in an empty area, then click on the "Insert/Update" icon under the Images section of Insert Tools area.
2). You will then be presented with a pop-up panel that will allow you to insert an image.
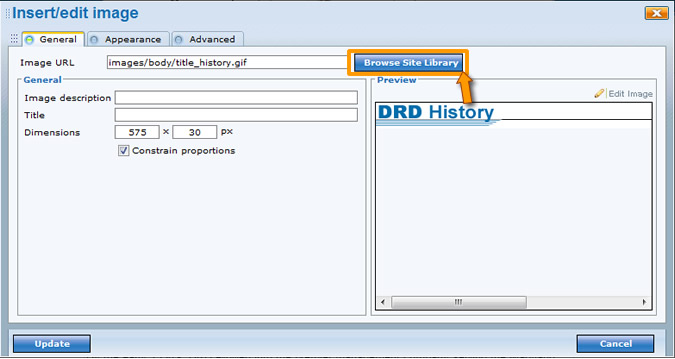
3). Then select the "Browse Site Library" button to pull up the image library. If your image already exists in the library you can navigate through the files/folders and click on the image name to select it.
Note: If you need to upload a new image, click on "Browse" at the bottom of the pop-up, locate the image on your computer, and then select "Upload File." Once the image has been uploaded (this may take a few seconds or longer depending on the file size), it will be loaded into the asset library where you can select the image by clicking on its file name.
4). Enter a short descriptive name for your image in the "Alt text" field and then click "Insert/Update Image" to insert to your web page.
You will then see your image inserted on your web page.
How do I edit an image on my web page?
To make standard edits to an existing image:
To update the image attributes: Useful for replacing your image with another or changing the image title and/or Alt text of the image.
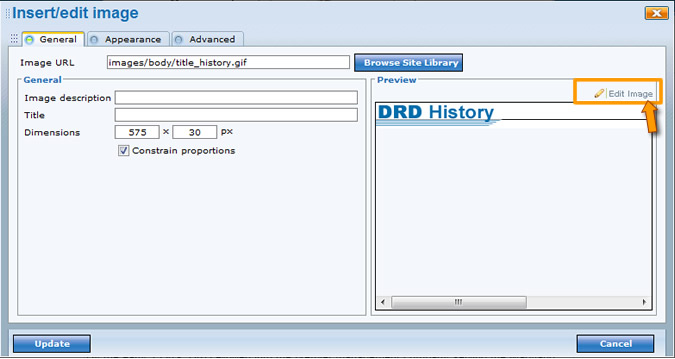
1). Right click the image you would like to update and select the "Insert/edit image" option
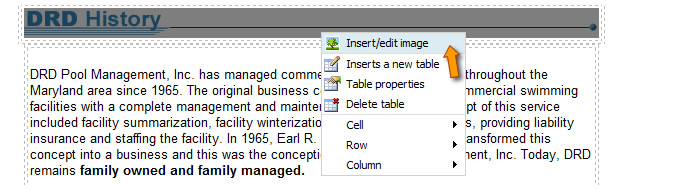
2). The Insert/Edit Image panel will load and allow you to make changes to your image.
Refer to the "Easy Tip" area on the panel for more tips and details.
To make actual image modification: (Such as rotating, flipping, sizing, cropping your image)
1). Select desired image and click on the "Edit Image" from the "Insert Tools" panel.
2). The My Image Editor application will open allowing you to make changes to your image. Refer to the EZ Image Editor Add-on area for more information on using this tool.
Take advantage of EZ Image Editor:
| My Image Editor: Is a free add-on included with your editing tool. For most users it covers the basics in image editing needs including ability to rotate, crop, flip or even size your images and a number of other image editing functions. |
Common topics on editing the content of your web pages:
- Text Editing
- Linking to Pages & Documents or other sites
- Inserting and Editing Tables
- Inserting and Editing Images
- Inserting and Editing Media
- Creating New Web Pages
- Adding HTML / Embed code from a third party
- Other Tools